How to apply Weberfloor screed system
Follow this easy step-by-step guide:

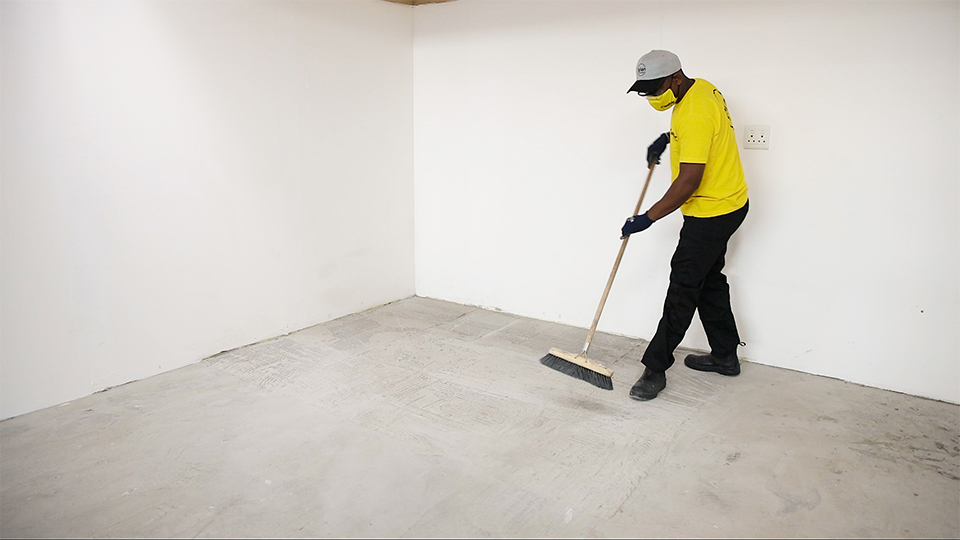
Step 1: Prepare the Surface
Before applying the Weberfloor screed it is important to prepare the surface first to ensure it is clean from any dust, debris, or other contaminants and repair and patch holes. The prepared surface must have an average “surface tensile adhesion strength” greater than 1N/mm². Moreover, it should have CSP (concrete surface profile) of 3 to 4. New concrete surfaces should be at least cured for 28 days old and structurally stable (residual moisture).

Step 2: Priming of the surface
Once the surface is clean and repaired, prime with Weberfloor Primer, a latex-based primer and keying agent to improve adhesion. Do not add water to the liquid primer. Weberfloor Primer must be applied evently in one or two coats depending on the surface condition and porosity. Recommended application is two coats, using a mohair roller or brush at 2.5 – 5 m2 per litre avoiding puddling.
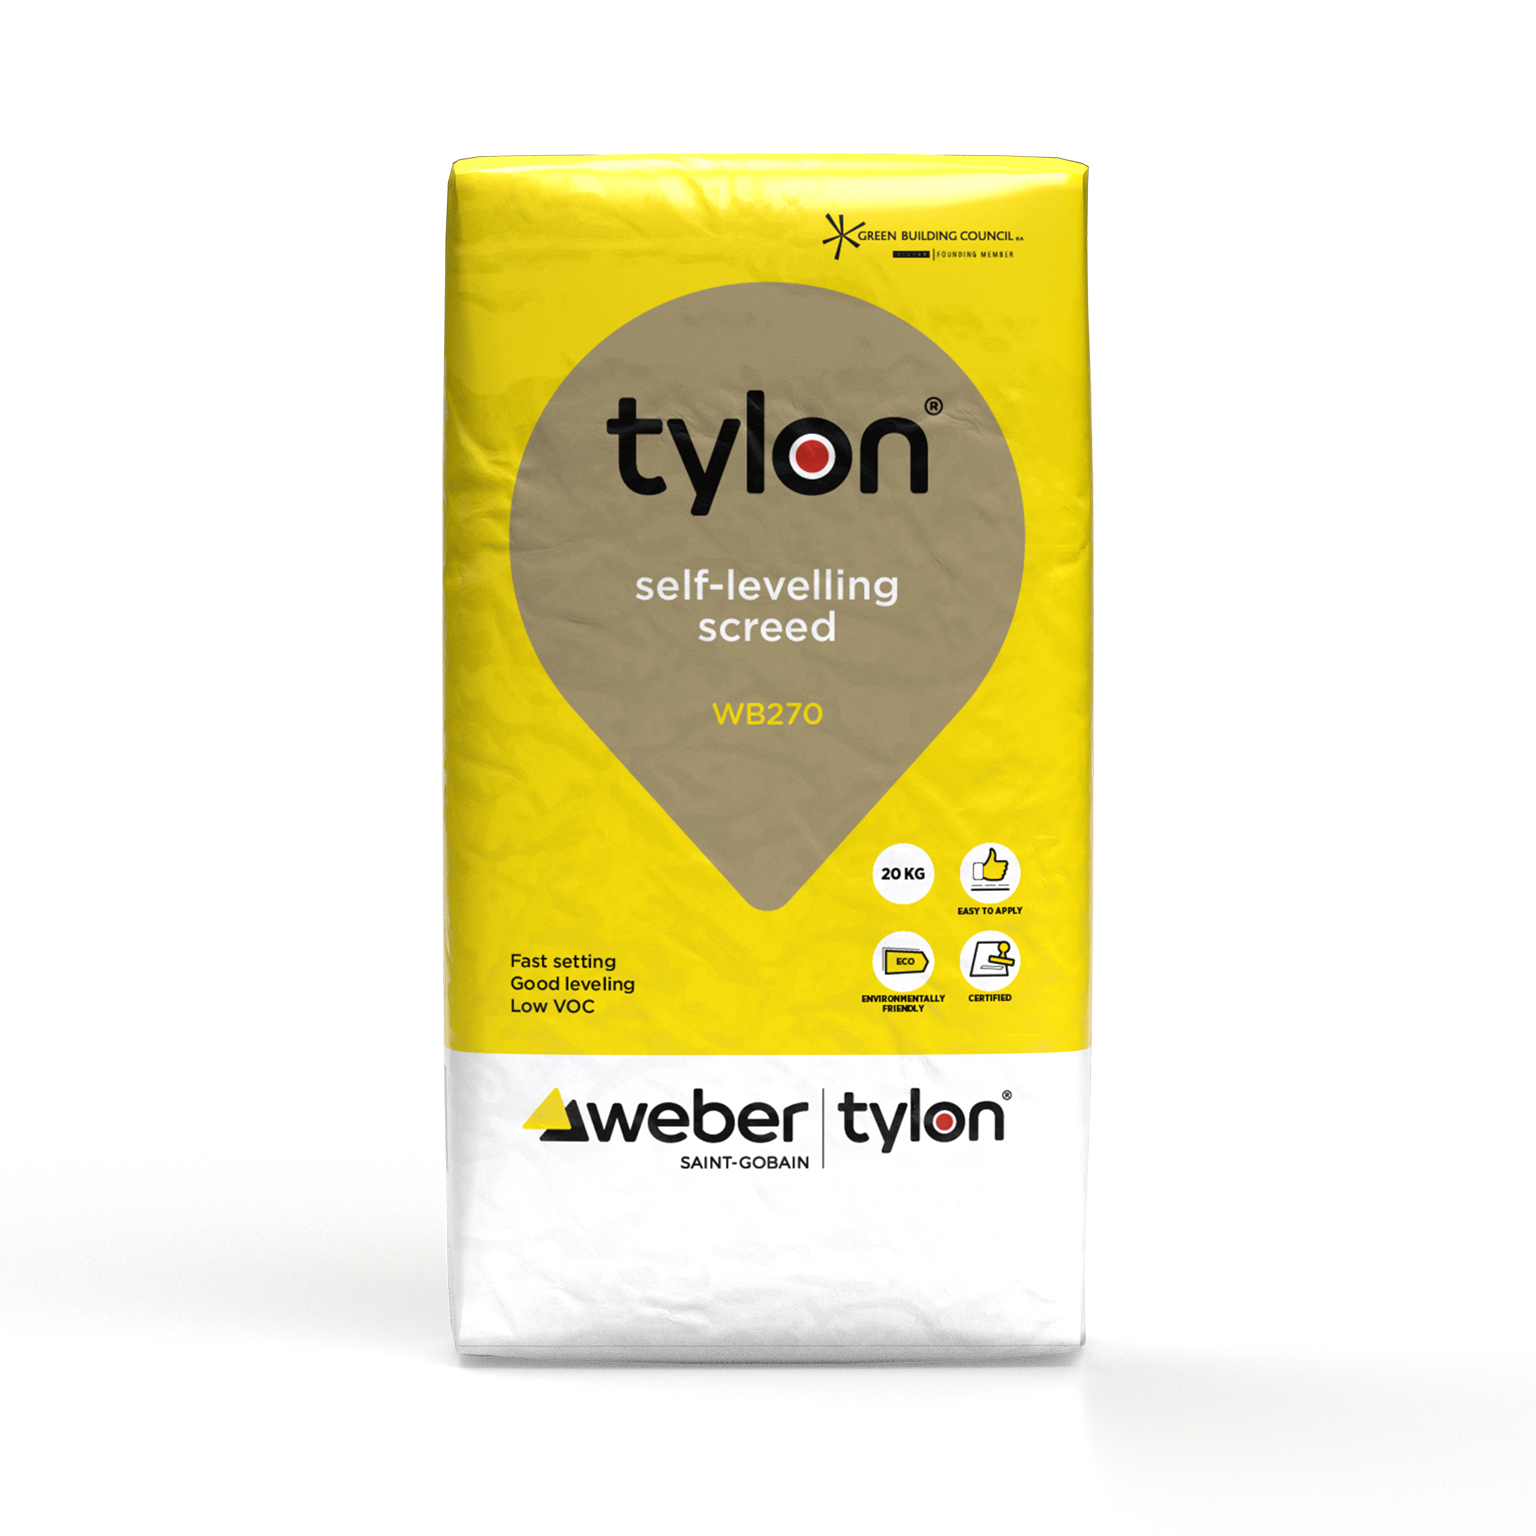
Step 3: Mix the Screed
The next step is to mix the Weberfloor 270 self-levelling screed. This should be done by adding the screed and water to a mixing container. The screed should be mixed thoroughly until it reaches a smooth consistency. An electric mixer makes this task much easier. Gradually add 20 kg of Weberfloor 270 into 4.6 liters of clean cool potable water using a paddle mixer on a slow speed drill (speed below 500 rpm) and mix for a minimum of 2 minutes until a homogeneous, lumps free mix is obtained. Scrape the sides of the mixing container and remix for 1 minute.

Step 4: Apply the Screed
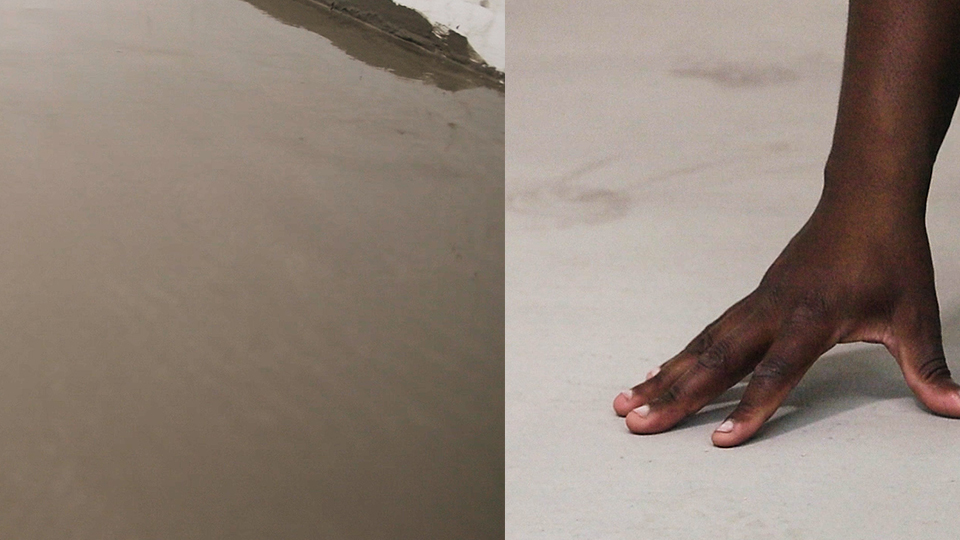
Once the screed is mixed, it is ready to be applied within 5 – 10 minutes of mixing. Pour the mixed screed onto the prepared surface and immediately start spreading it out with a notched rake suitable for the required thickness. Gently push and pull the product to aid in leveling and smoothing, do not over rake as the product has excellent flow and workability. Ensure to work from one side of an area and spread by stepping backwards to the other side. Do not walk on the wet material unless you are wearing spiked shoes or boots.

Step 5: Finish the Screed
After levelling and spreading the mixed screed, use a spiked roller with a long handle and roll the wet product slowly but thoroughly to remove air bubbles and improve levelling before the setting process advances too much. Wear spiked shoes for this process.
Step 6: Cure the Screed
Finally, the screed curing is the process of allowing the screed to dry and harden. Curing should be done within 24 hours, in a controlled environment with no wind currents, at ambient temperatures within a temperature range of between 10 °C – 25 °C. The chosen floor covering can be installed after 24 hours, depending on layer thickness and drying conditions and the product has set. Once the screed is cured ensure to cut and seal the required joints.
In conclusion, applying Weber's screed is a simple process that both professional contractors and DIY enthusiasts can do. By following the above steps, you can ensure a smooth and even application of the screed, providing a durable and long-lasting surface for your project.
Watch video : How to apply Weberfloor screed system